Those of us in production know that looks aren’t everything in commercial embroidery digitizing, but what can we do to make sure that we’re digitizing with productivity in mind? Luckily, I’ve laid out my process in this month’s Printwear Magazine! If you have time, I wholeheartedly suggest that you check out the full article, but for those of you with production schedules bearing down on you, here’s a quick summary of the highlights:
Why should we care about production-friendly digitizing?
When designs use excess movements, too much density, too many color changes, or leave excessive trims, they are slower to run, take more effort to finish, and have a higher likelihood of causing thread breaks and garment spoilage. All of these things eat into your profits.

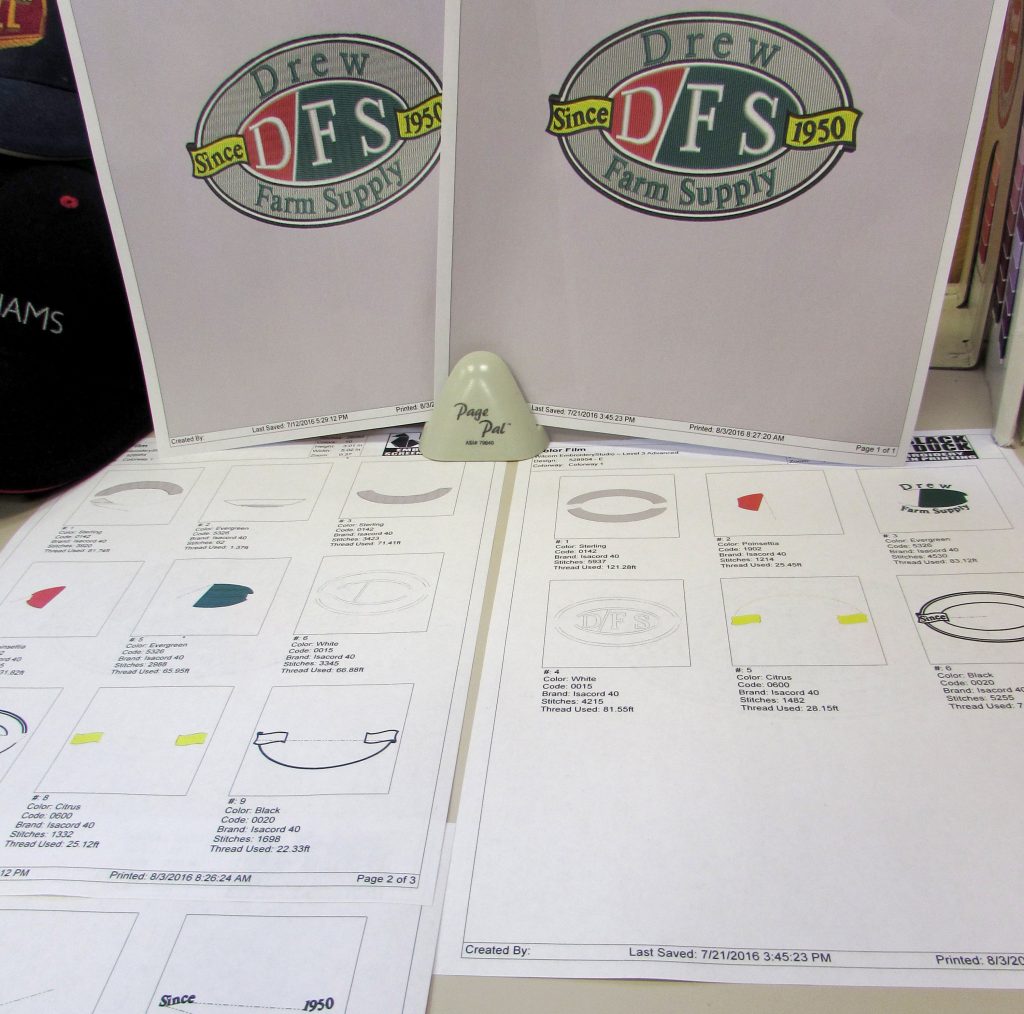
Which design do you want to run- 26k stitches, 12 color changes, and 28 trims or 22k stitches (a little over 15% savings), 6 color changes, and 8 trims?
How can I make my designs more efficient?
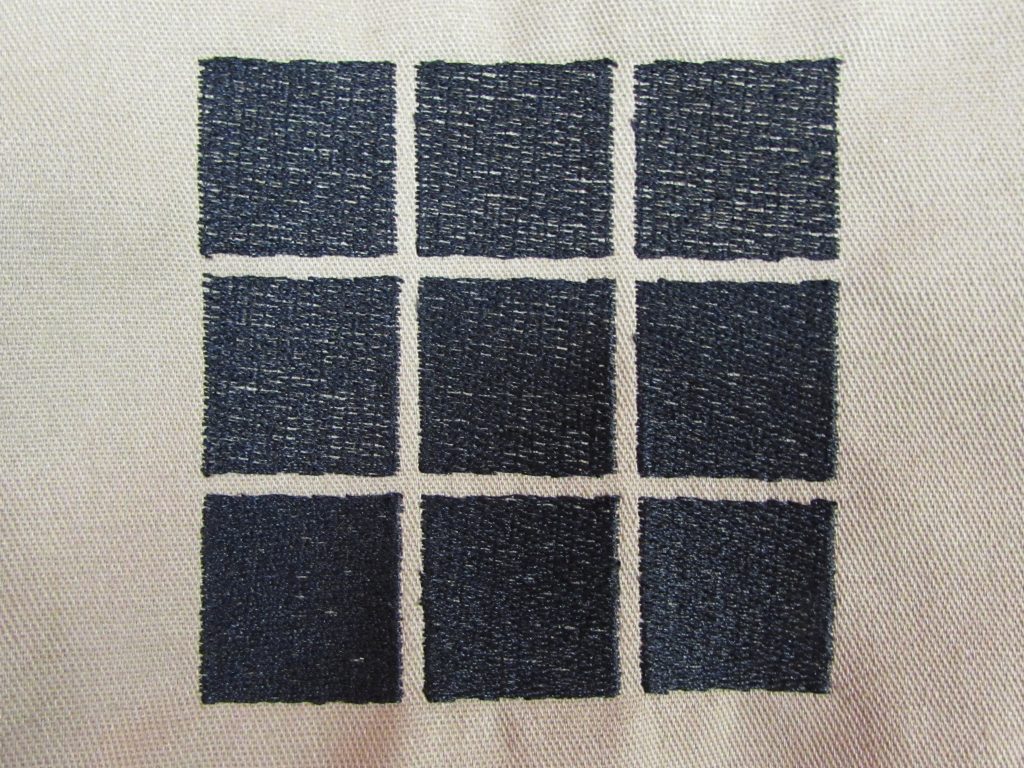
- Know Your Materials and Test for Target Densities: make testing designs that let you test the way underlay, density, color combinations, and materials interact; this will enable you to see just how much density and what kind of underlay you need for adequate coverage.

The coverage in the lower left square looks the same as the lower right, but there’s an 18% difference in stitch count; wouldn’t you like an 18% shorter run?
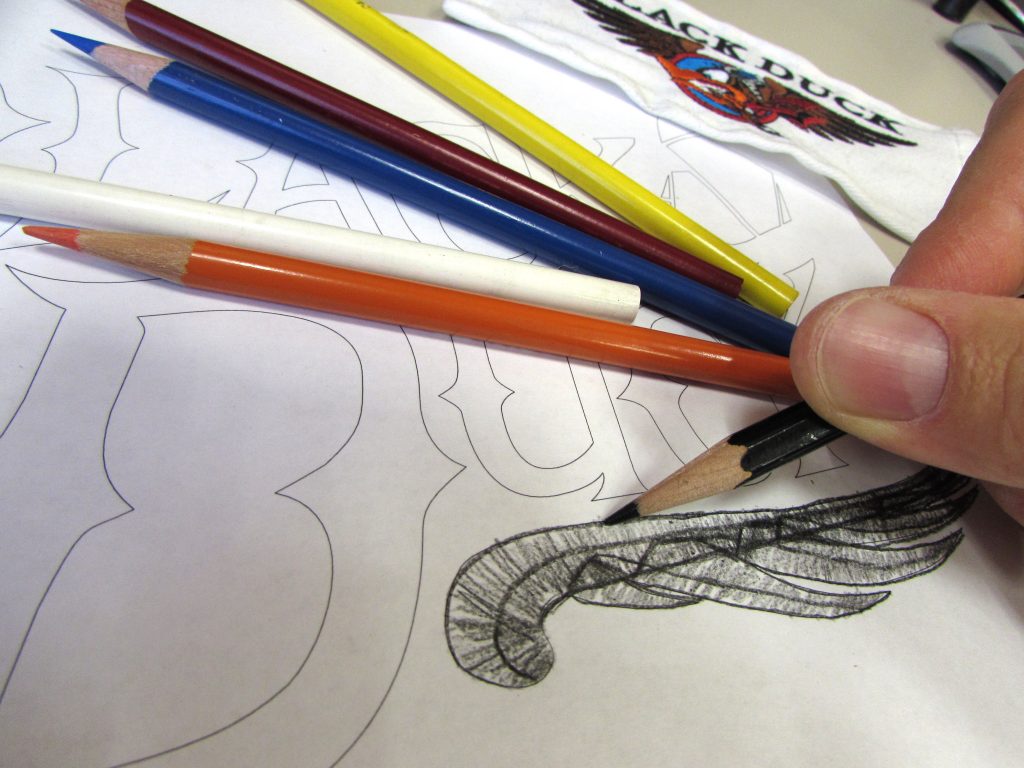
- Prepare for Pathing and Sketch it Out: If you have trouble envisioning an efficient sequence for your design, print it out and color your design’s segments without lifting your pencil. Pretend to be the machine; you’ll get a feeling for where you can connect items, how to travel through the design efficiently, and where jumps and trims are unavoidable.
- Review the Preview: Use your software’s ‘slow replay’ function to virtually watch your design run and note any problem areas. View, note, edit, and replay again. This will allow you to catch any gross errors before testing.
- Save a Copy and Stack: If you aim to reduce color changes, save a copy of the design, then start stacking colors together on the new copy; make sure that your layering makes sense to the elevation of each element in the design, check for any traveling stitches that have been exposed, and go back to the review stage once your done to make sure your pathing makes sense after you’ve altered your sequence.
- See it in Stitches: Pay focused attention to your first sample run, looking for unnecessary movements, extra trims, and instability in the material; if your sequencing or traveling is producing ripples or puckers, this is where you’ll see them. Remember to test with the desired support materials; use exactly what you’ll use in production and run at production speeds; never use excess stabilizer or baby the sample to make it run correctly. If your design isn’t compensated correctly, a quick edit here can save a ton of production time later, especially calculated over the totality of a customer’s relationship with your shop.

Analog drawing is still a great way to figure out our digital pathing problems.
Efficiency is a good habit. It’s good for your profit margins, the lighter stitching makes for a better ‘hand’ to your decoration, and your production staff will be happier if they aren’t consistently halted by production problems. As stiff as this may seem and as alien as the process may feel at first, the process becomes second nature. What starts as a cycle of digitizing, review, testing, and repeating with practice becomes a three-step process wherein one digitizes, does a final preview check, and signs off on their latest smooth-running sample. Once the habit forms, you’ll love how both your bottom line and your peace of mind can benefit from a little production-friendliness.
For all of the wonderful pictures and a more complete explanation, check out the full article (and all the other great work from industry leaders) in this month’s Printwear Magazine.


LEAVE A COMMENT